Private Session 5 April 2020
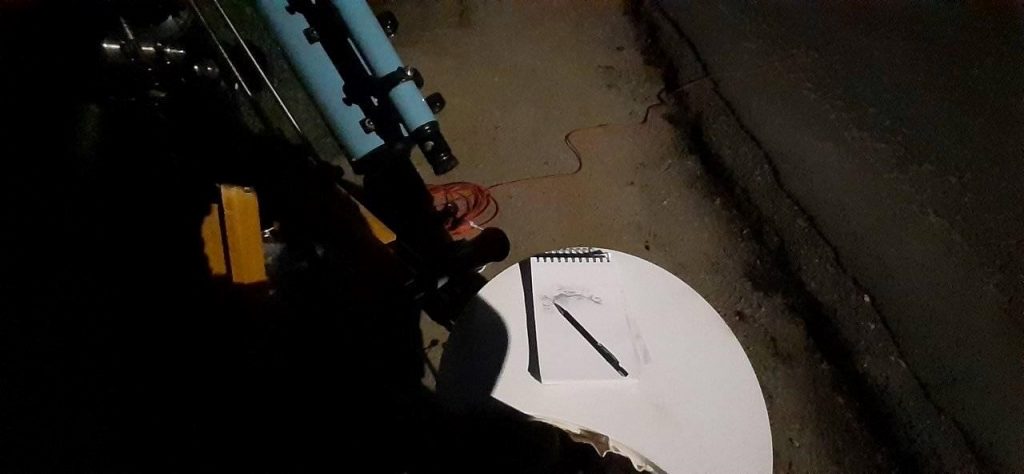
Astronomy does not necessarily mean the usage of high-tech cameras and computer assistance. So from time to time, I use my very own built-in sensors for imaging the night sky’s beauty. That weekend, I decided to go for the moon. And to share my impressions, I used my sketchbook and a pencil.
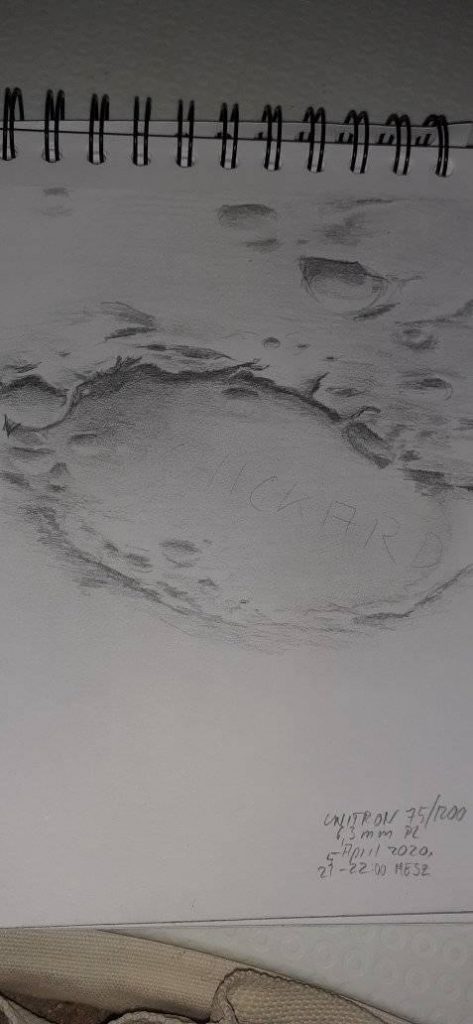
It was almost full moon, so not many shades and craters can be seen directly. I slewed the telescope towards the terminator – the day-night-border. Aha, at least here the rims of the craters are casting some shadows. I love the play between the bright light, the black shadows and the faint gradients in between. Let’s find a kind of impressive crater. I changed the eye-piece to my Plössl with 6.2 mm – my working-horse, as it comes to moon, and slewed along the terminator. That one! I didn’t even know the name at that time, but the surrounding landscape was full of contrasts: Flat lands, hill-sides, tiny craters in the middle of bigger ones, a lot of details.
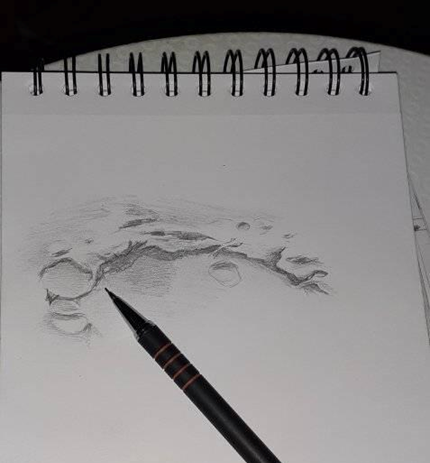
I placed my chair in a comfortable position and tried to sketch the upper rim of the crater. The actual contours were not directly visible, I could only guess them by the shape of the shadows. But that is the secret: Do not think too much, just draw what you see! The upper rim comprised many cracks. Some tiny lofty rubbles within the darker edges were reflecting the sunlight, while the deeper fissures appeared in deep black.
I did not apply any pressure to my pencil, because the first round was just to get the shapes and the scale. The shading would come later. I compared my sketch to the view in the eye-piece, and it slightly changed in the meantime. It was amazing, how fast the shadows changed their shapes. A minute ago, it looked totally different.
That showed me, I have to get the details much faster. Ok, now that we have the basic form, should be doable. From the upper rim, I worked to the right. The craters walls appeared quite steep here (in the sketch hard contrasts rather than soft gradients), with even little canyons leading down. Fair enough, now the other side. Here a secondary crater decorates the rim. On the way there, a lot of tiny light-shadow-play. Below that secondary crater another one, contours not so focused, overall shape not even round. Seems older than the one before, and therefore was preempted by the newer impact.
To emphasise the steepness of the rims, I gently applied more pressure on my pencil, my sketch became slightly darker.
Cross check through the eye-piece. Wow, the shadows changed again! Ok, let’s go to the lower rim, that appeared more homogeneous and easy.
And it was. The landscape here was quite flat. All shades had a very basic contour that could be drawn in no-time. To my surprise, I met the other side of my sketches’ crater rim without running out of scale. All the details were drawn in the almost correct proportion and position to each other.
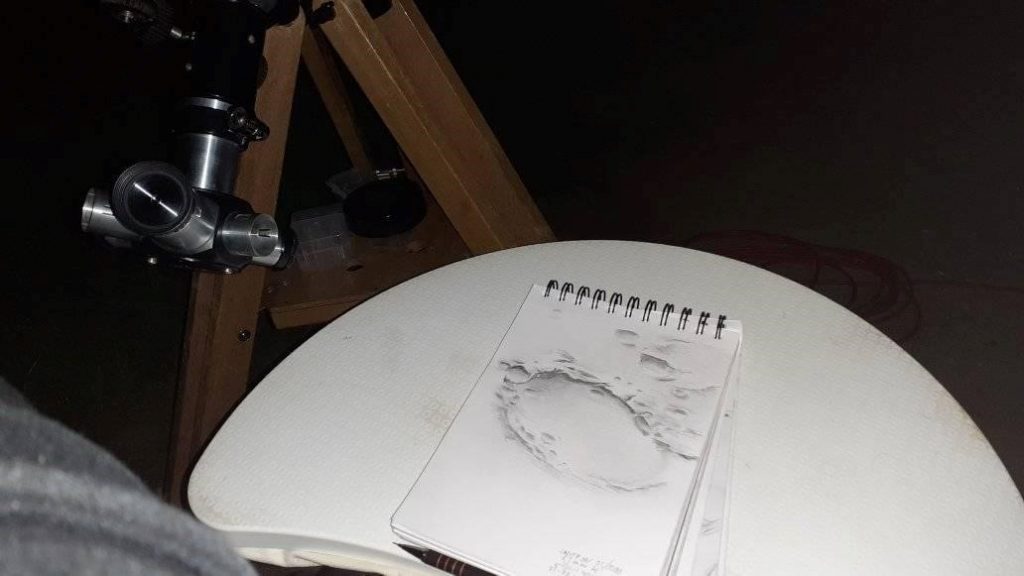
For a nicer appearance, I tried to capture some of the surrounding landscape, which is more or less only defined my some hillside shadings above the crater, while the area below was almost plane. The whole sketch too me about one hour. As a last action, I checked my moon map for the correct name of the crater. It is named “Schickard”…